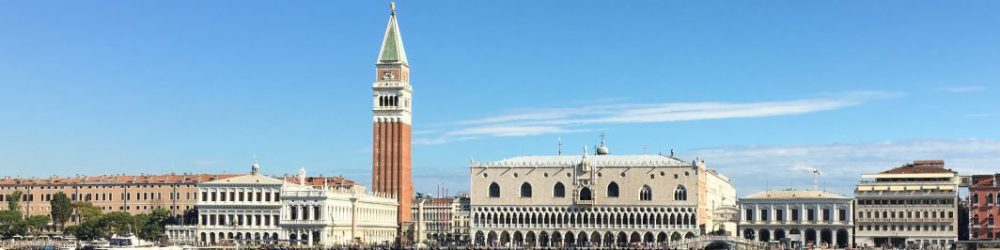

After 14 Days in Europe I ended up with around 750 pictures to figure out a plan for. Yikes!
I sat on them the first week back, too overwhelmed by the number of photos to be able to start a plan. Honestly, getting started was the worst part, but once I did it wasn’t that bad.
The next week I got them all onto a flash drive to plug into my digital photo frame. A bit of a struggle for me as a Non-Techie. Had to use a lifeline and call my Son for advice, lol. After that I began selecting the photos I wanted to print and uploading to the FREE PRINTS app. I had 80 Free prints to use for that month so I put in an order of 276 prints. Holding back those that needed more editing or any I wanted to order in special sizes.
When I priced the order at our local mega store, it was going to cost $102. With FREE PRINTS I paid $28 including upgraded shipping. While waiting for the photo order to arrive I began editing the remaining 10-12 photos on the FOTOR app. It’s easy to use even for a novice like me.
Use this link to FREE PRINTS to get 5 Bonus Free Prints per Month
Next I began the hunt for a photo album that would hold 300 photos. This was harder than I thought it would be. I think because I knew exactly what I wanted, and just couldn’t find a great match. I ended up with one similarly styled that works fine.

When my order arrived, I sorted them into piles by city we visited then arranged the piles in chronological order. I wanted to display them in the album in the order of our trip. I left spaces for the edited photos I had coming later and placed a tag in the empty slot for the photo that I would be inserting. I filled the book!
I chose a book with Memo space along each photo so I could jot a note or caption telling where we were, or explaining the photo in some way. That way if someone is leafing through it, I don’t have to commentate. Even though I enjoy doing so! No one photo could sum up the trip for the cover’s photo window. Since my daughter does DIY fancy handwriting activities, I asked her to make an album title with dates to display there instead.
MY DIY PROJECT

While waiting for my photo order, I gathered some fancy frames I wanted to reuse that had old prints with mats. I removed the print from each of them and measured the picture reveal size as well as the border bleed. I went through my photos to find ones I really liked and that I thought would work well with the frame shape. I added those with standard sizes to my next FREE PRINTS order and the rest I had to get made locally. I love Recycling old things. Those trip pictures will mean more to me when I see them displayed in the frames than a random flower garden or cottage did.
The nice thing about this process, is it is a lovely way to continue to enjoy the trip, even after coming home. And having a few key photos displayed around the house brings a smile each time I pass by them.
So get creative with your photos next time you travel. If you don’t have any great frames at home to reuse look for them at yard sales or thrift stores. You can even spray paint them if the color doesn’t suit you.
Thanks to Picture This Jackson for great Customer Service while helping me create these unique sized prints!
Some of my Successes


10 X 24 Masterpiece!

Failures

I broke this glass while attempting to reinsert it into the frame after cleaning it. It was a clean break, but a custom size piece of glass will need to be replaced. Oops!
But all in all my DIY project was a success and cost less than $50.


Love it, Girlfriend!! 💖
Nice post and pictures!